20 years jewelry packaging manufacturer,
Serving 1000+brands,Passed ISO9001/BV/SGS


You can share
- Share to Facebook
- Share to Google+
- Subscribe to our
- Share to Linkedin
- Share to Twitter
You can share

Do you spend a great deal of time and effort cleaning tarnished silver and polishing dusty diamonds, yet overlook the very "home" that safeguards them day and night? Take a look at your dressing table: has your jewelry packaging box become covered in dust, with unknown stains clinging to its corners, or does it even emit a faint, musty odor?
Never underestimate these details. A box harboring dirt and grime not only dampens your mood when you reach for your jewelry, but the accumulated dust, oils, and moisture within it also act as "catalysts" that accelerate the oxidation and discoloration of your precious pieces. Here is how you can use simple tools already found in your home to quickly and safely clean your jewelry box, restoring its sophisticated, premium look.
Jewelry boxes come in a wide variety of materials, so a "one-size-fits-all" cleaning approach simply won't work. Using the wrong method can actually ruin the box entirely. Before you begin cleaning, take a moment to identify the materials used for both the exterior and interior of your box:
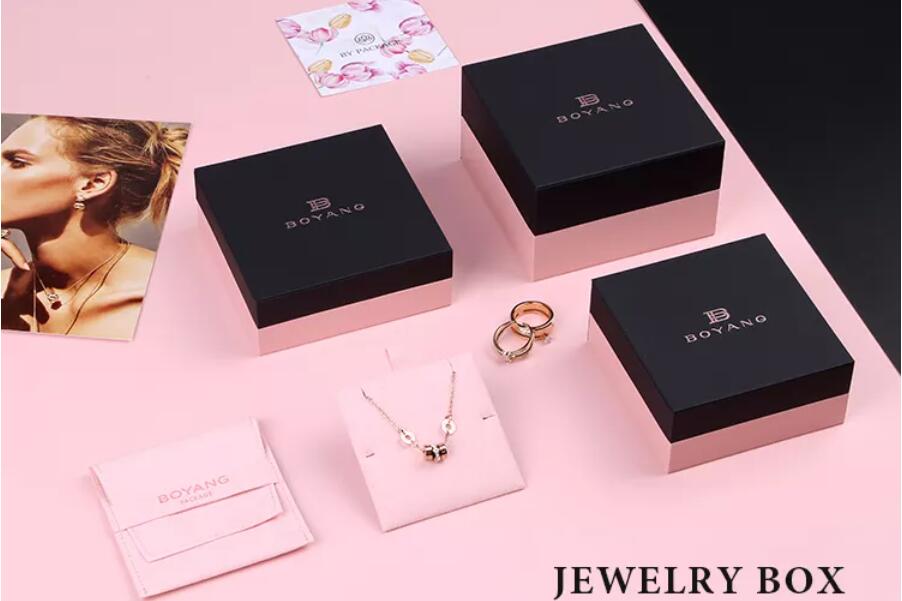
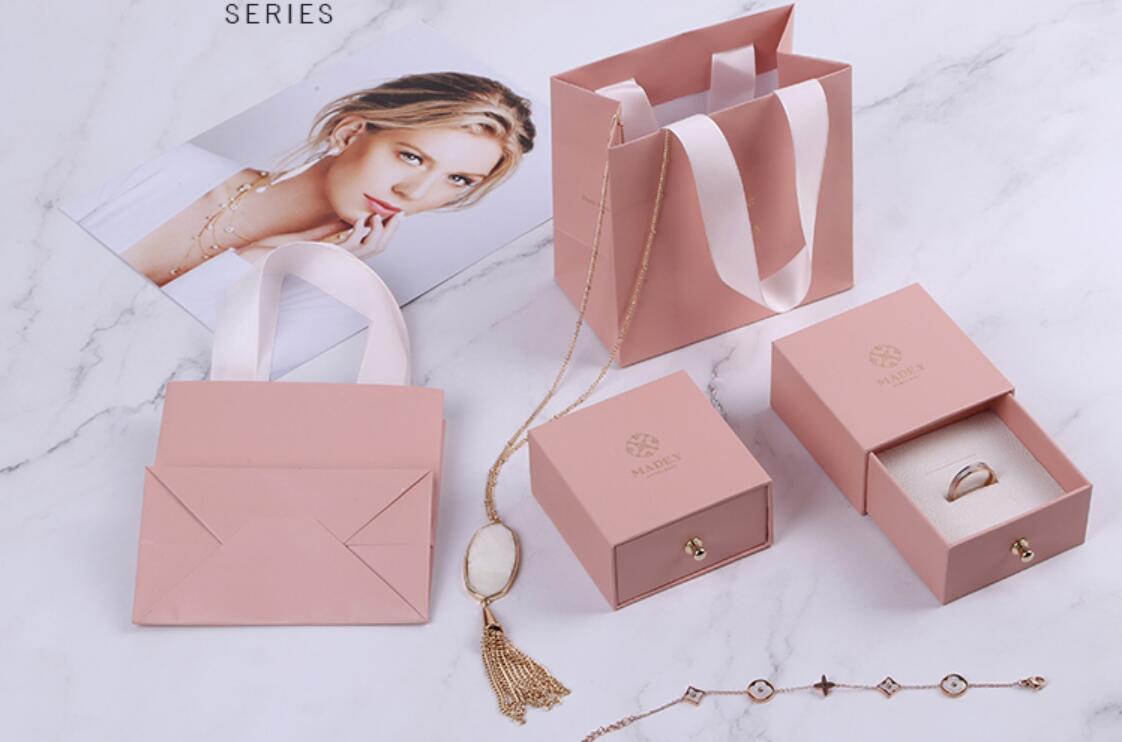
(1) Specialty Paper / Cardboard: Commonly found in the classic outer packaging of major luxury brands; offers a superb tactile quality but absolutely must not come into contact with water.
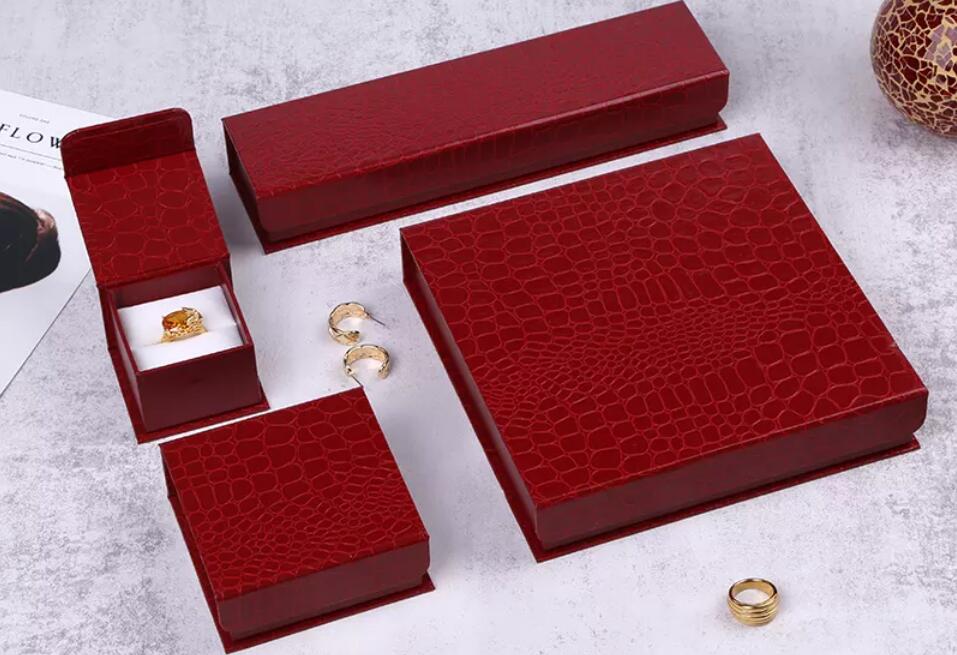
(2) PU Leather / Genuine Leather: Frequently used for high-end hinged boxes or jewelry storage cases; features a smooth surface that is relatively stain-resistant but vulnerable to scratches from sharp objects.
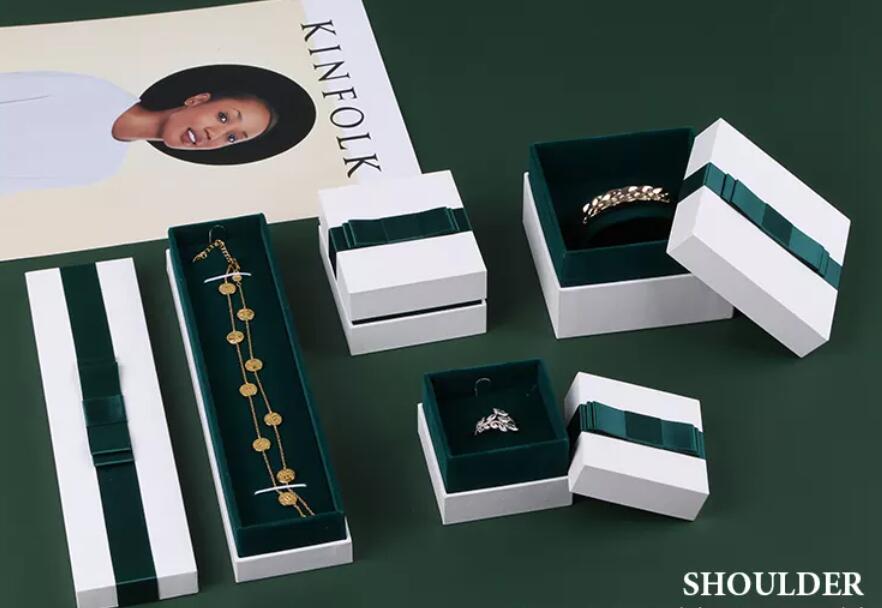
(3) Velvet / Flocking / Microfiber: Typically used for interior linings or the exteriors of vintage-style jewelry boxes; offers a soft touch but is extremely prone to attracting and trapping dust and lint.
Once you have correctly identified the materials, you are ready to proceed to the actual cleaning steps.
Regardless of your box's size or material, following this specific process—moving "from dry to wet, and from exterior to interior"—will ensure a safe and highly effective cleaning result.
Applicable to all materials
Do not attempt to clean the box while the jewelry is still inside. First, remove all necklaces, rings, and earrings from the box and set them aside on a clean, soft cloth. Next, turn the emptied jewelry box upside down and gently tap the bottom to dislodge any large dust particles or skin flakes hidden within the crevices. Then, using a clean, soft-bristled makeup brush (such as a powder brush or eyeshadow brush), gently sweep away any loose surface dust from both the exterior and interior of the box.
Select the method based on the material:
For PU Leather / Genuine Leather Surfaces: Prepare a small bowl of warm water and add one or two drops of pH-neutral dish soap or baby wash. Dampen an extremely soft microfiber cloth with a tiny amount of this solution (be sure to wring the cloth out thoroughly so it remains only slightly damp), and gently wipe away any stains on the leather surface. Immediately follow up by wiping the surface dry with a separate, dry cloth to remove any residual moisture.
For Velvet / Flocked Linings: Never use water to wipe these materials, as doing so will cause the fibers to clump together and harden. The most effective method is to use clear adhesive tape or a lint roller designed for clothing. Wrap a piece of tape around your finger (sticky side out) and gently press it against the flocked surface; you will find that tiny, hard-to-remove dust particles, fibers, and hairs are instantly lifted away, leaving the surface spotless.
For Specialty Paper Surfaces: Paper-based jewelry boxes are particularly vulnerable to water and oil stains. If the surface bears faint black scuff marks, you can use a clean, soft art eraser (a drafting eraser). Gently rub the surface in a single direction; this technique can typically remove most of the surface dirt.
Applicable to all materials:
The seams along the edges of the box and the deep recesses of ring slots are often major hotspots for dust accumulation—areas that are difficult to reach with standard brushes.
You can use a toothpick or a cotton swab. If cleaning leather crevices, dampen the cotton swab with a tiny amount of anhydrous alcohol (be sure to test a small, inconspicuous corner first to check for colorfastness) and gently trace along the seams. If cleaning flocked slots, simply use a dry cotton swab to scrape along the grooves; this effectively lifts out deep-seated dust and debris.
Suitable for all materials
If your jewelry box has been stored for a long time in an unventilated drawer, it may develop a musty smell or the stale, stuffy scent of old items.
Never spray perfume directly into the box! The alcohol and chemical fragrances in perfume can corrode your jewelry. The correct approach is to take a small plastic cap (such as a mineral water bottle cap), fill it with baking soda, and place it right in the center of the empty box. Close the lid and let it sit for 24 to 48 hours. Baking soda is a natural odor absorbent that can safely and effectively draw out various unpleasant smells.
Suitable for all materials
Regardless of whether you used a slightly damp cloth during the cleaning process, the final step requires leaving the jewelry box open in a cool, well-ventilated area to air-dry for half a day.
Absolutely do not expose the box to direct sunlight or use a hairdryer's hot air to dry it; this can cause leather surfaces to crack, adhesives to melt, or the cardboard structure to warp. Once you have confirmed that the inside and outside of the box are 100% dry, you can then sort your jewelry and place it back into its designated slots.
Once the cleaning is complete, to ensure your box retains this "brand-new" look for the long term, simply adopt two small habits during your daily routine:
(1) Prepare Desiccant Packs: Always keep a small packet of silica gel desiccant in a hidden corner of the box (such as in the bottom drawer or underneath the ring holder), and replace it every three months. This is the most cost-effective strategy for preventing the box from becoming moldy and your jewelry from oxidizing.
(2) Regular Light Brushing: Once a month, while tidying up your vanity or dresser, take a moment to gently brush the surface of the box and the frequently exposed interior lining with a soft-bristled brush. This prevents dust from accumulating over time and turning into stubborn stains.
Take ten minutes to give your jewelry box a deep cleaning. When the packaging regains its pristine quality, the jewelry inside will appear even more dazzling and radiant.