20 years jewelry packaging manufacturer,
Serving 1000+brands,Passed ISO9001/BV/SGS


You can share
- Share to Facebook
- Share to Google+
- Subscribe to our
- Share to Linkedin
- Share to Twitter
You can share

Mother's Day is coming. Instead of buying a cookie-cutter gift, why not make a leather jewelry box yourself and incorporate love and creativity into the details? This gift is not only practical, but also makes your mother feel unique. This article will analyze the production steps in detail and provide design inspiration and practical tips to help you create a jewelry box that is both beautiful and functional.
(1) Basic tools
Cutting tools: utility knife, scissors, leather cutter
Measuring tools: steel ruler, compass, pencil
Gluing tools: leather glue (such as yellow glue), double-sided tape
Sewing tools: diamond cutter (hole punch), wax thread, sewing needle
Polishing tools: sandpaper (400-1000 mesh), edge sealing liquid, polishing stick
Auxiliary tools: clamps, hammer, tweezers
(2) Main materials
Leather fabric: 1.5-2.0mm thick vegetable tanned leather (easy to shape) or PU leather (cost-effective) is recommended. The size is selected according to the size of the box (example: 30cm×50cm).
Inner lining material: velvet cloth, silk, or short plush cloth (to protect jewelry from scratches).
Structural materials: cardboard (2mm thickness, used for box support), EVA sponge (buffer layer).
Decorative materials: metal buckles, ribbons, hot stamping stickers, dried flowers, hand-painted paint, etc.
(3) Optional accessories
Magnetic buckle or lock (enhanced closure)
Mini hinge (for clamshell design)
LED string lights (create a sense of ritual when opening the box)
Step 1: Design drawings - determine the shape of the jewelry box
Determine the size: Design the partitions according to the types of jewelry commonly used by mothers. For example:
- Necklace area: 5cm high, with built-in hooks or grooves;
- Ring area: small drawers with compartments, each compartment is 3cm×3cm;
- Earring area: perforated flannel board for easy hanging.
Drawing drawings: Draw the unfolded diagram of the box on paper (including the bottom, sides, and lid), and mark the precise dimensions (the error must be less than 1mm).
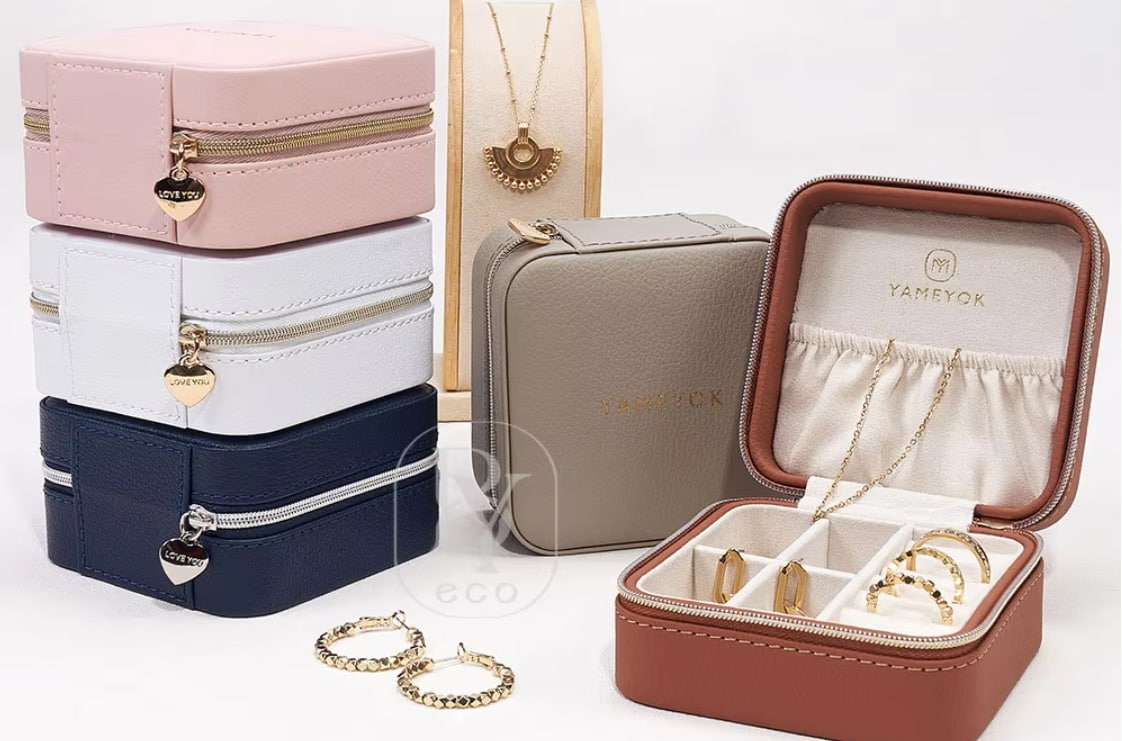
Design inspiration reference:
Retro style: imitation antique jewelry box, with carved metal buckle;
Simple style: solid color leather + geometric segmented lining;
Natural style: embossed leaf texture, embedded with dried flower decoration.
Step 2: Cutting and shaping - creating the basic structure of the box
(1) Cutting cardboard: Cut out the support plates (bottom, four walls, cover) on each side of the box according to the drawing.
(2) Wrapping EVA sponge: Cut the sponge into a size 1cm larger than the cardboard, and fix it with yellow glue to enhance the cushioning.
(3) Wrapping the outer layer of leather:
Cut the leather into a size 2cm larger than the cardboard (reserved for edge wrapping);
Apply glue to the edge of the cardboard, fold the leather inward and press it, and fix it with a clip until it is dry.
Tips:
The triangular notch can be cut off at the corner to avoid leather accumulation.
Use a sanding stick to trim the edges and apply edge sealing liquid to make the edges smooth.
Step 3: Sewing and assembling - giving the box a three-dimensional feel
(1) Side connection:
- Use a diamond cutter to punch holes on the leather edge on the side of the box (hole distance 3mm);
- Use the "double needle saddle stitch method" to sew the wax thread to ensure neat stitches.
(2) Install the lining:
- Cut the velvet cloth to a size slightly smaller than the space inside the box;
- Use double-sided tape or fabric glue to fix it to avoid wrinkles.
(3) Add functional areas:
- Hanging area: Sew a grid strip on the inside of the box lid for hanging necklaces.
- Drawer layer: Make a small leather drawer, stick velvet on the bottom, and use popsicle sticks to glue the slide rails.
Step 4: Decoration and personalization - inject exclusive emotions
(1) Surface decoration:
- Hot stamping text: Use hot stamping stickers to print "To My Queen" or the abbreviation of the mother's name;
- Hand-painted patterns: Use acrylic paint to draw themes such as flowers and stars;
- Inlaid decoration: Sew pearls, sequins or metal rivets.
(2) Functional upgrade:
- Install a mini LED light strip (powered by button batteries) on the inside of the box lid, which will light up when the box is opened;
- Stick a non-slip pad on the bottom to protect the desktop.
(3) Emotional details:
- Hide a handwritten greeting card in the inner lining;
- Place a mini photo frame of a mother-daughter photo in the box.
(1) Leather processing:
- Vegetable tanned leather is easy to scratch, so use a soft cloth when operating;
- PU leather should avoid high temperatures and direct contact with a hot glue gun.
(2) Use of glue:
- Apply yellow glue thinly and let it stand for 1 minute before gluing.
- If glue stains are spilled, use a cotton swab dipped in alcohol to gently wipe.
(3) Time planning:
- It is recommend that beginners complete the work in two days: cutting and gluing on the first day, and sewing and decorating on the second day;
- The total time is about 6-8 hours.
- Basic version (PU leather): 10-15 USD (materials can be purchased online or at a craft store);
- Advanced version (vegetable tanned leather + metal accessories): 30-50 USD;
- Tool reusability: leather cutters, diamond cutters and other tools can be used for future craft projects.
A handmade leather jewelry box carries not only jewelry, but also delicate love and gratitude for the mother. Even if the stitches are not perfect and the lines are a little immature, this time-consuming and heartfelt gift will surely become a memory she treasures for a lifetime. On Mother's Day, let us use the warmth of handmade products to say the words that have never been spoken: "Mom, you deserve all the good things in the world."