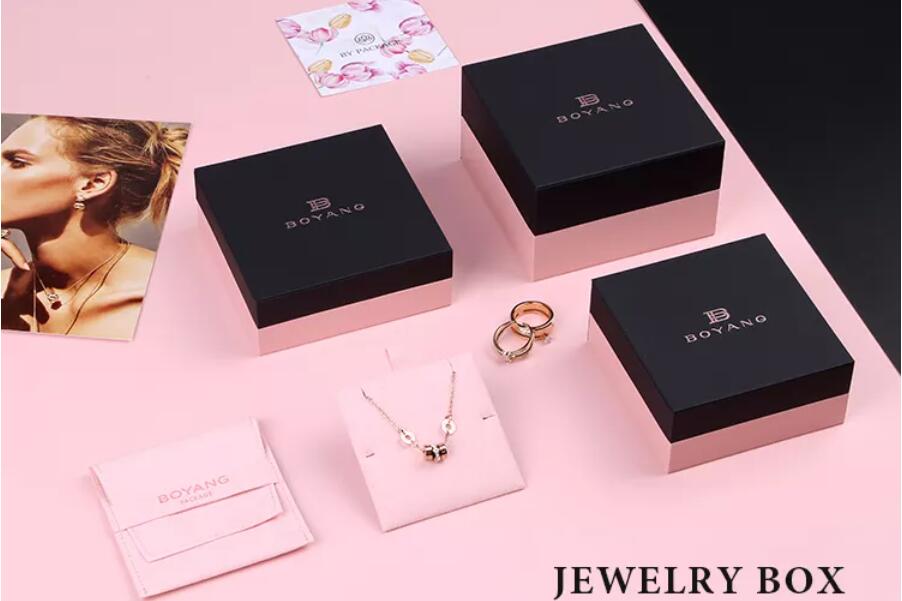
20 years jewelry packaging manufacturer,
Serving 1000+brands,Passed ISO9001/BV/SGS


You can share
- Share to Facebook
- Share to Google+
- Subscribe to our
- Share to Linkedin
- Share to Twitter
You can share

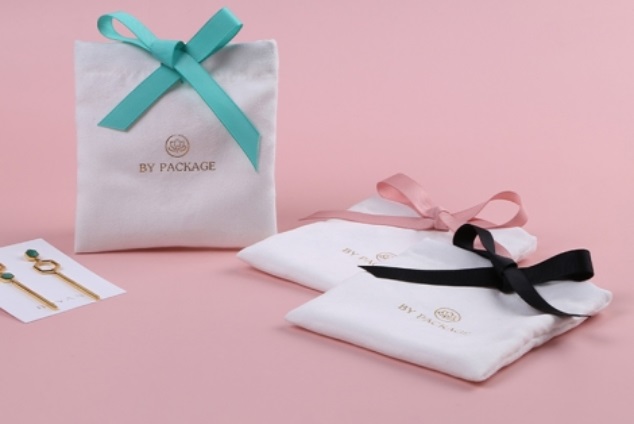
Making a creative jewelry drawstring bag is a fun DIY project. You can customize it to your personal style or give it as a gift to someone special. Next, you can follow the steps below.
(1) Fabric: Choose the fabric that suits your style and purpose. You can use cotton, silk, velvet, or even more decorative fabrics.
(2) Thread: Match the thread color to the fabric for a seamless look.
(3) Ribbon or rope: You need to use it to close the drawstring. Choose a color that matches your fabric.
(4) Sewing machine (optional): Although you can sew the bag by hand, a sewing machine will make the process faster and neater.
(5) Scissors
(6) Pins
(7) Fabric markers or chalk
(8) Beads, buttons, or ornaments (optional): These can be used for decoration.
(1) Measure and cut the fabric:
Decide on the size of your bag. It should be large enough to comfortably hold your jewelry items.
Measure and mark your fabric according to the size you choose and add an extra inch for seam allowance.
Cut two identical pieces of fabric for the front and back of the bag.
(2) Sew the bottom and sides:
Place two pieces of fabric together, right sides facing each other.
Pin the sides and bottom edges in place.
Sew along the sides and bottom, leaving the top open. Use a 1/4-inch seam allowance.
If you are using a sewing machine, backstitch at the beginning and end to secure the stitches.
(3) Turn the bag right side out:
Carefully turn the bag right side out so the seam is on the inside. You can use a blunt object to push the corners out to get a cleaner surface.
(4) Fold and sew the top edge:
Fold the top edge of the bag down about 1/2 inch to 1 inch (depending on the size of the ribbon or cord).
Secure the fold in place.
Sew a straight line close to the edge to create a casing for the drawstring. Make sure there are small openings on the sides to insert ribbons or cords.
(5) Insert the drawstring:
Attach a safety pin to one end of the ribbon or cord and use it to pull the cord through the shell you just created. Wrap it around until it comes out the other side.
(6) Decorative bag (optional):
Get creative with your decorations. You can sew on beads, buttons, or other embellishments to personalize your jewelry bag.
(7) Tie the drawstring:
Make sure the drawstrings are even on both sides of the bag.
Tie a knot or bow on each end of the drawstring to secure it.
(8) Trim excess ribbon/thread:
Trim off any excess ribbon or cord, leaving a little extra decorative fringe if desired.
Your creative jewelry drawstring bag is now complete! You can use it to store and protect your jewelry, keep it easily accessible, and add a touch of style to your accessory collection.