20 years jewelry packaging manufacturer,
Serving 1000+brands,Passed ISO9001/BV/SGS


You can share
- Share to Facebook
- Share to Google+
- Subscribe to our
- Share to Linkedin
- Share to Twitter
You can share

|
|
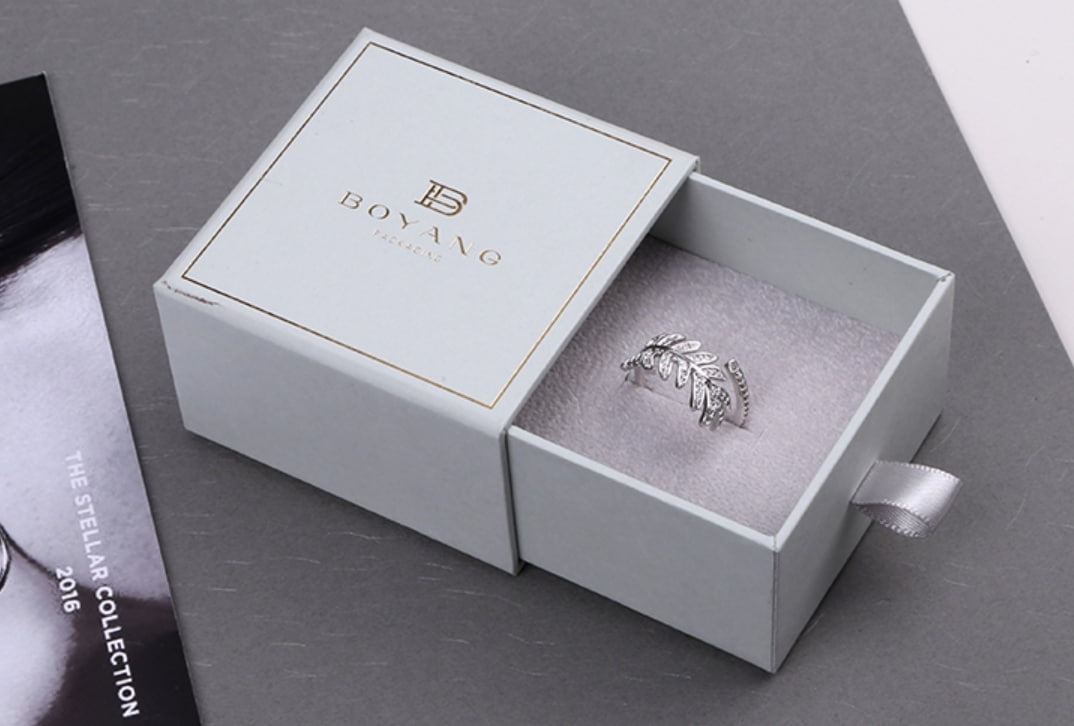
jewelry gift box design is actually very simple. Everything starts with simple cardboard. Do you also want to learn the design and making method of jewelry gift box, and make a gift to your beloved by yourself? Below, follow the package to learn the jewelry gift box production method. Jewelry gift box design first, you should prepare 1 pieces of thin cardboard, cardboard used to make the bottom of the box; a slightly different color, used to make the cover; the knife, used to make notches, plastic knives can be general; but if not, can use the ruler; double face glue, tape; scissors; paint and other decoration of small objects. The first step: the design and manufacture of the jewelry gift box is first to make cross marks on the cardboard, and the distance between the mark and the edge can be controlled by itself, but the same is necessary. Cut the two opposite sides with scissors. Set the edges along the creases and then recover. The second step: the jewelry gift box is designed and made, then the paper is turned over, the four corners are pasted with double sided glue, and the double sided glue is torn off, and then the paper box is sticky. At this point, the smaller piece of paper is taken out. Make a mark in 4 directions. The third step: jewelry gift box design and then cut with scissors. We should pay attention to the same box side with the previous ones. If conditions permit, the scallop puncher can be used to modify the edges. The four corners can be glued together with two sides, then the double sided adhesive is torn off, so that the box lid can be made. The fourth step: after making the final box and the box cover are done, this time can be a little decoration on the lid, with a ribbon or bow tie ribbons or flowers, all kinds of nice decorations can do, then you can put gifts and cards into the box. |
|